telephone project
I have been cleaning up the back room of my shop this winter. Taking things out and looking them over to decide which should be disassembled for recycling and what should be saved.
I pulled out a wood telephone I had tucked away. I always liked the old style look and it was made of solid oak. The push buttons for calling out didn’t work. When I had checked years ago, parts had been unavailable, so I had tucked it away. I opened it up and the push button unit looked very similar to the dial unit that was used in the old Bell telephones.
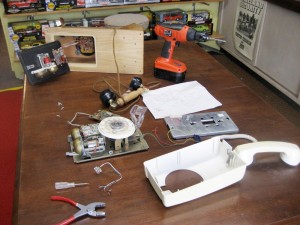
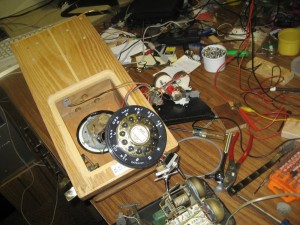
I Pulled out a dial unit from a Bell phone and it sat nicely in the opening of the old wood phone.
Simple job, I thought. I will just switch the dial unit.
The wood phone is not real old, it was made overseas in the late 1980’s. I don’t think it has any real value, so I had nothing to lose. There was a nice spot for it in the entry to my shop. I had thought of just mounting it for looks, but I didn’t care for the replica dial with push buttons. Being I had old telephone parts, all I had to do was fab up some mounting brackets and hook up the wires—simple enough.
As you can see in the pictures below I found some scrap aluminium and went to work.
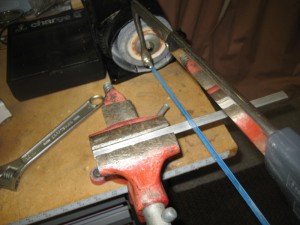
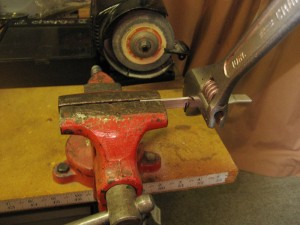
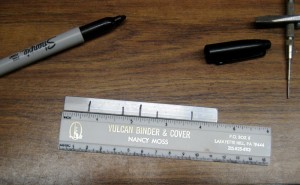 I got My hack saw out and cut off what was needed. Then I measured out where it needed to be bent. The old shop vice is a tool I couldn’t live without, as you can see it shows the years of use. The other thing that is so handy is the Sharpie marker—much easier for an old man to see than a pencil. A 10 inch crescent wrench makes bending the aluminium bar easy. It was a trial and error process. Bend a bit than check how it fits.
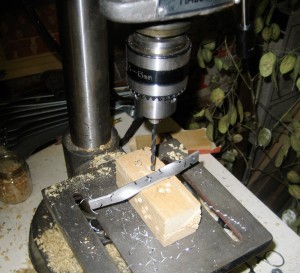
The small drill press is another handy tool. It makes it easier to put the holes where you want them. This is a cheap one, but in my lab I seldom do hard work with it. It has served me well.
The first picture below shows the dial mounted in the phone. That worked so nice. Then I went to hook wires up. That is where the problems started. I hadn’t thought far enough ahead, instead I assumed I would be able to wire the dial to the newer circuit board. I could find no schematic wiring diagrams, I was lost, and very close to trashing the whole project. After a good nights sleep I decided to import the whole interior of the old telephone.
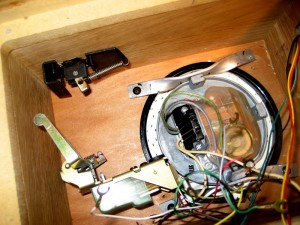
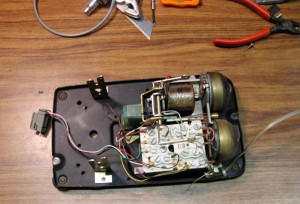
As you can see things are very compact on the old Bell phone. I still had hopes of using the original bell.However the switch that moves when you hang up the receiver proved to be the biggest problem.
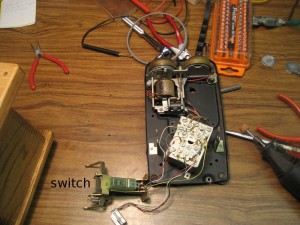
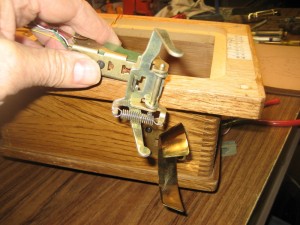
The high speed hand grinder made removing the rivets a fairly straight forward job. Much easier than drilling them out like we used to have to do.
It soon became apparent that I could not just switch parts. After much thought I was back to the hacksaw and drill again. Notice the pin vice I used to drill pilot holes for mounting screws in the Oak case. No room for the electric drill and you don’t easily drive screws into old Oak without a pilot hole.
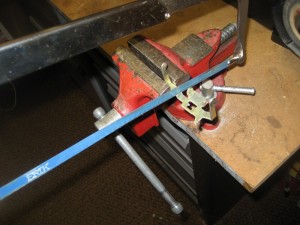
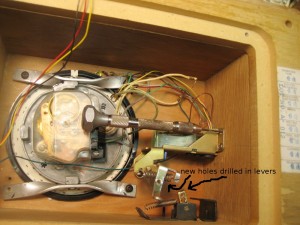
This turned out to be a fairly straight forward job. It did take redoing a couple of times to make it work right. The linkage between the levers was the hardest to get right. I bent it from a finishing nail. Below is the bending tool I have used for years. It is simple but makes nice bends.
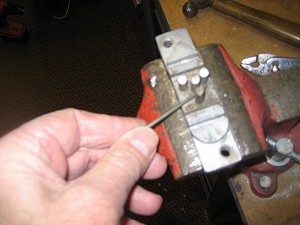
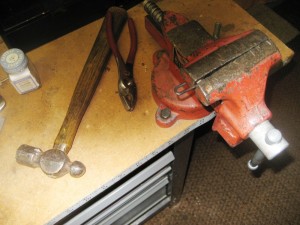 It comes in handy from time to time although one still needs the vice and hammer.
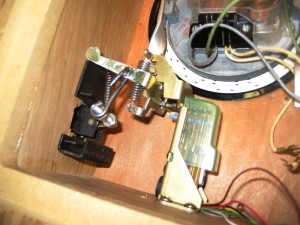
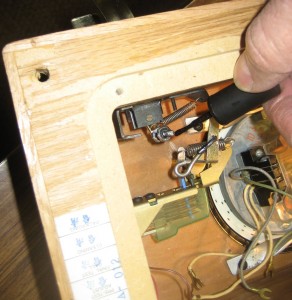
Here is the final test and it all worked just right. Next, I use an old trick I learned long ago. I coat the threads with nail polish then put the nuts on. Then another liberal coating and they are there to stay. I usually pay a quarter a bottle on garage sales. If it’s a little old and thick that is a plus.
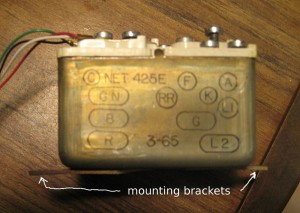
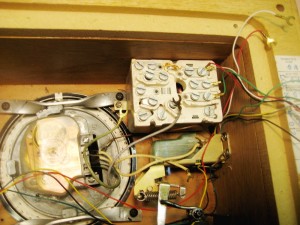
This shows the main unit. It was too crowded to simply screw it to the case so I cut a grove in the Oak side wall with the high speed grinder and slid the bracket tightly into the slot. One screw on the other end held it securely.
As I wired things up I realized I would not be able to use the ringer that came with the wood phone.Using the much heavier ringer from the Bell phone meant I would need a heavier back cover to support it. I was able to use the back frame from the Bell phone. I just needed to shorten it and reverse it.
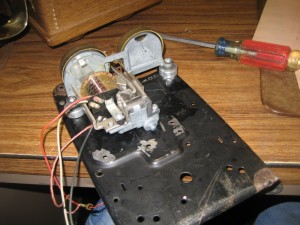
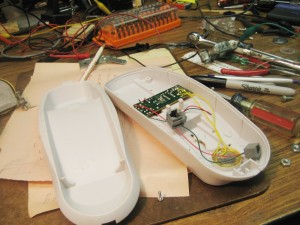
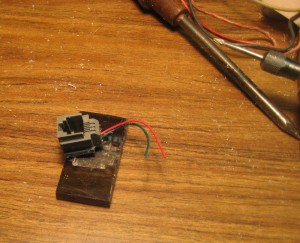
on the left is the test set up. on the right is the output jack I found in my junk.
I am by nature a pack rat—-I’m sure there are a few genes left in me that are very similar to those in squirrels. Many times the junk I have tucked away comes in very useful. I am fortunate that I have extra buildings on the farm where things can be saved without being in anyone’s way.
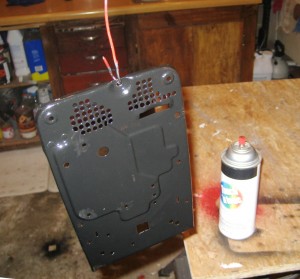
 A coat of fresh paint made things look much better. The aerosol paint cans are a very handy item. The first one I used was back in 1950’s, nice but expensive. They were about a dollar a can and I was making a dollar an hour.
Above on right, is the socket for the line cord. The socket had been snapped into a neat mounting moulded into the case of the junk phone. I needed to fashion a mount on the steel back plate of my project. The first part was making a square hole in the back plate that the front of the socket would fit firmly into. Next I fashioned a retainer out of a piece of thick plastic by grinding out a notch that fit the back of the socket.
The Dremel like rotary grinder has made many tasks fast and easy. I consider it essential in my shop. Notching out that plastic bracket would have been time consuming and difficult without it.
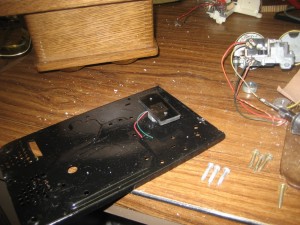
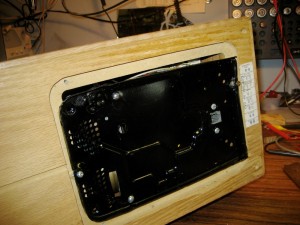
Inserting two small bolts made a very secure mount as you can see in the left picture. Also you can see the bell unit above the base plate in that picture. This was next mounted on the back plate. The wires were all connected, the back plate mounted and the phone tested.
One thing I never mentioned, I guess because I always take it for granted. Always make diagrams and notes on what and where wires are connected. It takes a bit of time to do so but it simplifies things in the long run.
The picture below shows the final result. I even concealed the wiring in the wall.
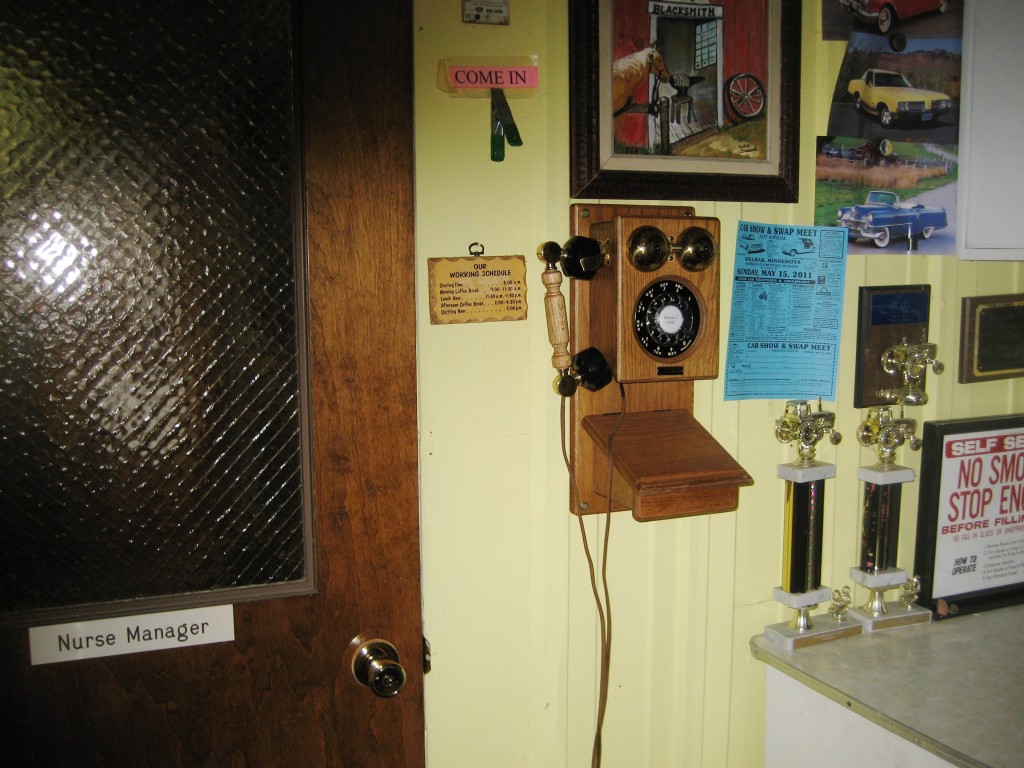
Was it worth it, For me yes. It has very little monetary value, but it is unique, I like it. I spent a lot more time on it then I expected. Had I known all the problems before I started, I probably wouldn’t have bothered. My cost was basically my time and the challenge was good for me.
Note the entry door with the Nurse manager sign on it in the photo. The story with that is my son-in-law was working next to a hospital. There was a remodelling project going on that day when he happened to look out the window. Two guys were carrying this nice door to the dumpster. He called out the window and when he went home from work that day the door was in his pick-up truck. I ended up with the door and I just couldn’t take that neat sign off. I get a lot of comments on it.
Leave a comment
You must be logged in to post a comment.