Archive for the ‘Lab Projects’ Category.

Changes in my shop

2011 passed very fast. I stayed busy but didn’t get many of my planned projects finished. Looking back I realise that it really doesn’t matter. It was a great year and I had much fun. I didn’t keep up the web site. I started many posts but never seemed to finish anything. The weather was rainy and stormy in the spring, which kept me very busy cleaning up broken trees. Then it turned dry and sunny for the rest of summer and I spent most of my time outdoors.
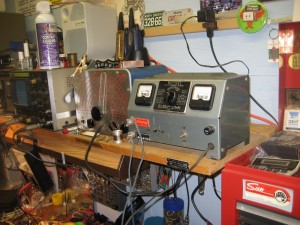
Below is a picture of metal car on my shop wall. It was a Birthday gift from my Son, Daughter-in-law and two Boys. They have a knack for picking gifts that this old man loves.
I spend a lot of time in my shop and it is filled with things. Every thing has a story, a memory and sometimes a use. Sometimes I just sit and look and let the good memory’s flood in. Friends and good times, long since past, come awake again.
I have always loved to tinker. At a early age I started taking things apart just to see what was inside them, and what made them work. Looking back I can see my father was very tolerant. I was encouraged to disassemble junk items rather than good stuff and allowed full access to his workshop and tools. Over time I learned to put things back together again and eventually I made my living doing just that.
You will also note the old wood wall mount telephone on the wall. I found it in Arkansas last winter when we were south. My memory identifies it as a match to the one on kitchen wall when I was a child. I was always fascinated by the old telephone with a crank on the side instead of a dial. There were 8 to 10 people on the party line. When any phone rang, all the phones rang. needles to say privacy was non-existent. No one would admit “Rubbering”, as listening in was then called. With no electricity limiting radio use, small children and lots of hard work, the diversion of “Rubbering” was understandable.
My mother was too busy to listen to the radio one morning when the phone rang. It was the local radio station’s morning quiz show. They asked a question that would have been simple had she been listening to the show. Her mind was so busy with the days work it just couldn’t move onto the question. The clocked ticked off as she stood silent by the phone. Suddenly a woman’s voice blurted out the answer and my mother was declared the winner of a small gift certificate at one of the show sponsors. My mother would have been glad to share the gift, but no one would ever admit to being the voice. I must add, that unlike today, the tone quality of the old phones was very poor. Recognising the voice for sure was impossible.
Quite a change from the wireless phone next to it. I just couldn’t resist buying that old phone even though it doesn’t work, but that is a future project.
new shop wall_E

Winter Project

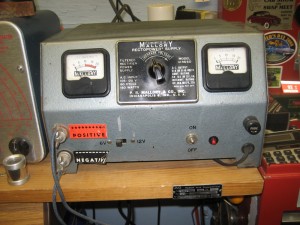
Mallory _A This is my old Mallory model 12RS6D power supply. It is one of the handiest things I have at my work bench. It provides either 6 volts at 10 amp or 12 volts at 6 amp.  Up to 20 Amp intermittently. What makes it even better is the voltage is variable. Adjustable from nothing to about 15 volts.  Very handy when playing with things.
It is very old. I bought it in the 1980’s, at the auction sale of the contents of an old radio repair shop. This was at the the small neighbouring town of Olivia. I have been unable to come up with a date for manufacture, but I would guess the 1940’s at the latest. If some one could supply me  with more information on this unit, I would be appreciative.

The only complaint I have about the unit is, it is easy to forget the power on. With no light on it, you have to notice which way the toggle switch is sitting. Last week with the snow blowing outside and the wind chill below zero, (that’s about minus 18 degrees Celsius), I decided this would be a good project.

Mallory_Cmallory_B

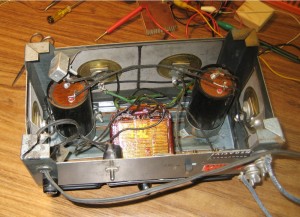
Turning the unit over, the job looked simple.

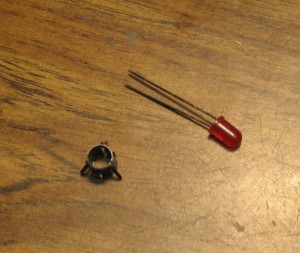
Digging in my junk (supplies) I came up with a red LED and snap in mounting ring.
I like the simplicity of the design, no bottom cover to get in the way. I can relate to the feeling, if your stupid enough to stick your fingers into the wires, that’s Darwin in action. Note the heat sinks for the rectifiers is the steel case. I like the louvers on the top of the case, had to be designed by a Street Rodder. Common sense, open bottom, louvres on top—no need for a fan.
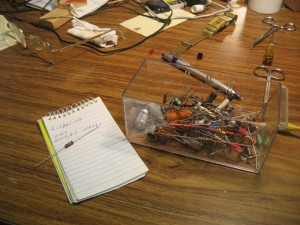
mallory_Dmallory_EDigging through my stuff I came up with some goodies.
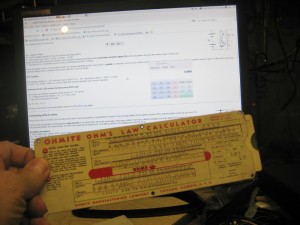
In the days before computers and calculators we used things like this paper slide rule.This one was given away by the Omite Co. of Chicago.
I know that a LED has to have a resistor of the right size in series to keep from burning out. I did my calculations, but being it has been a while since doing anything like this. I did the reasonable thing and got on the Internet. Soon I had all the numbers, that left me feeling good as my calculations were right on. This old man isn’t dead yet.
Luck was with me again as I found a new resister of the right value in my stash of spare parts. See just because something hasn’t been used for 20, 30 or more years doesn’t mean you should discard it.
mallory_F
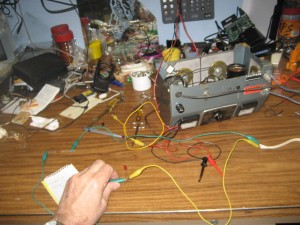
I wanted to be sure all would work right so I set up a quick test to check it out. All worked as planned, easier to find out you looked at something wrong at this point then after it is all assembled. This is where the various colored jumpers with alligator clips come in very handy.

Sorry about all stuff in the background, I never seem to be able to clear my bench completely.
A gentleman with a better education than me, said as he smiled, that a man’s workbench reflects his mind. I pointed out that being his workbench was seldom used and almost empty, it told a lot about his mind too.

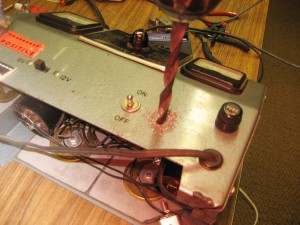
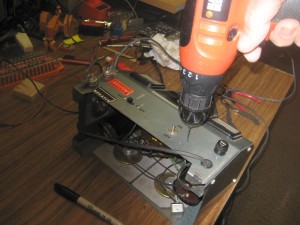
mallory_G mallory_H Here we are drilling the hole for the LED. Notice how heavy the steel in the case is, no skimping here. When this power supply was built, a battery powered electric drill was unbelievable. Electric drills were bulky, heavy, expensive and only starting to become common.
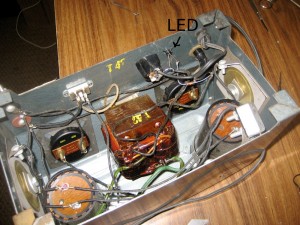
Below you can see the LED from inside the case. The connections were simple solder jobs. The other picture shows the finished job. It doesn’t look much different but the red glowing LED will sure help remind me to shut the switch off.
mallory_Kmallory_M

Winter vs Summer

This was from my wife she also took all the pictures

Hi,

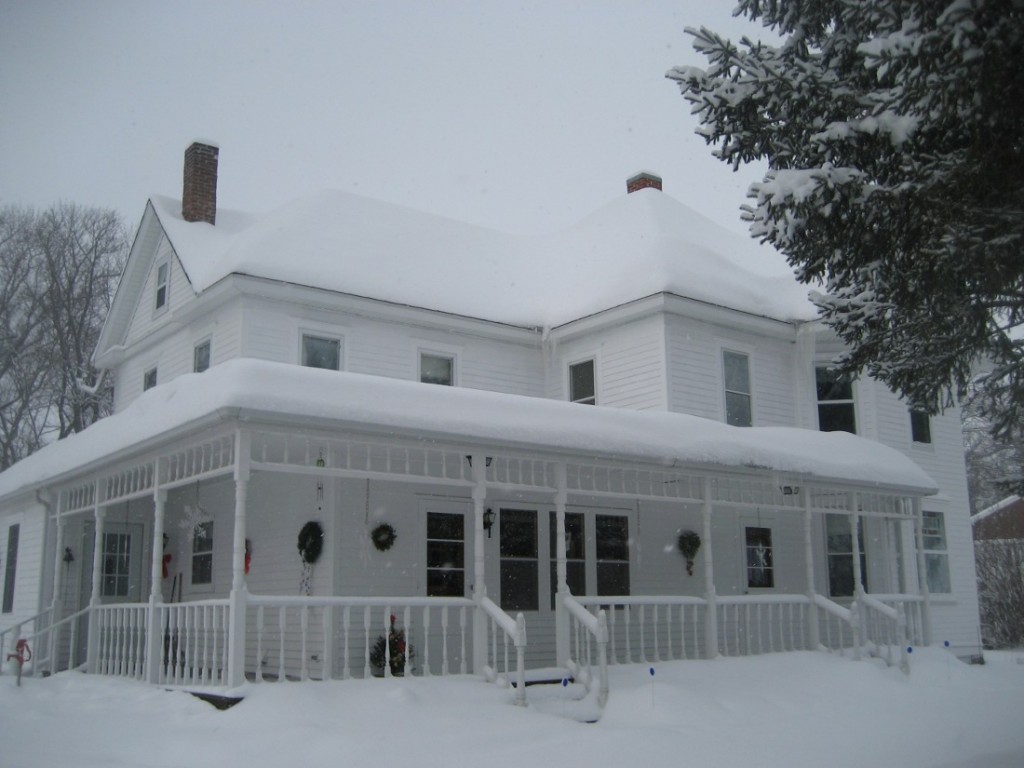
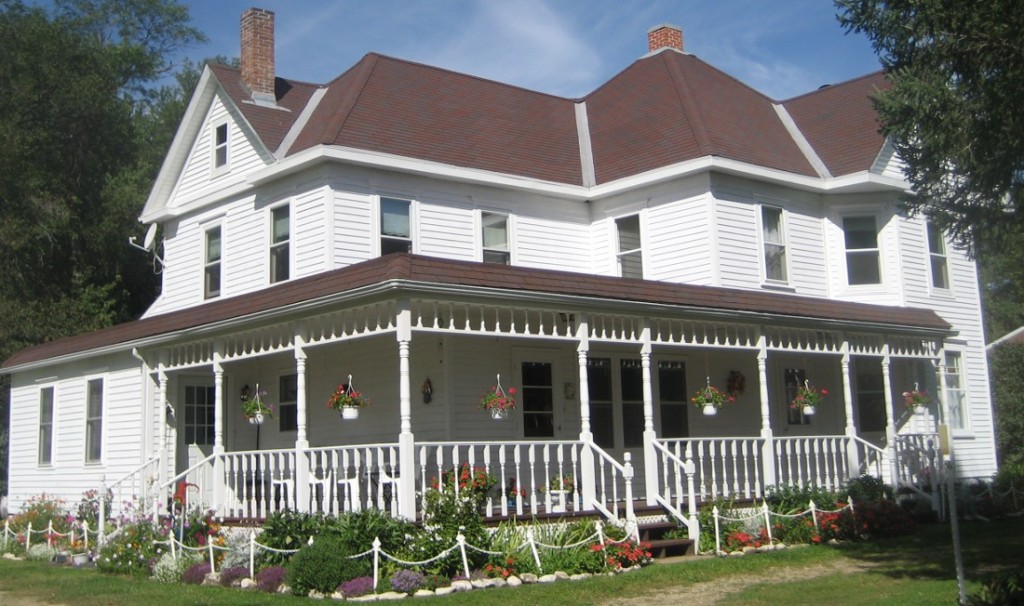
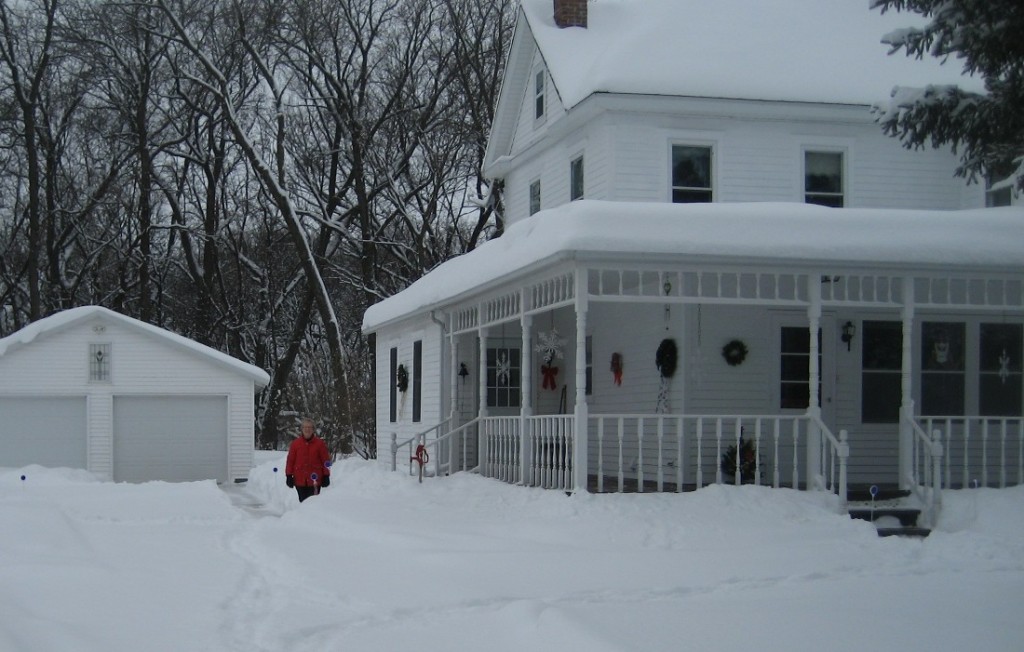
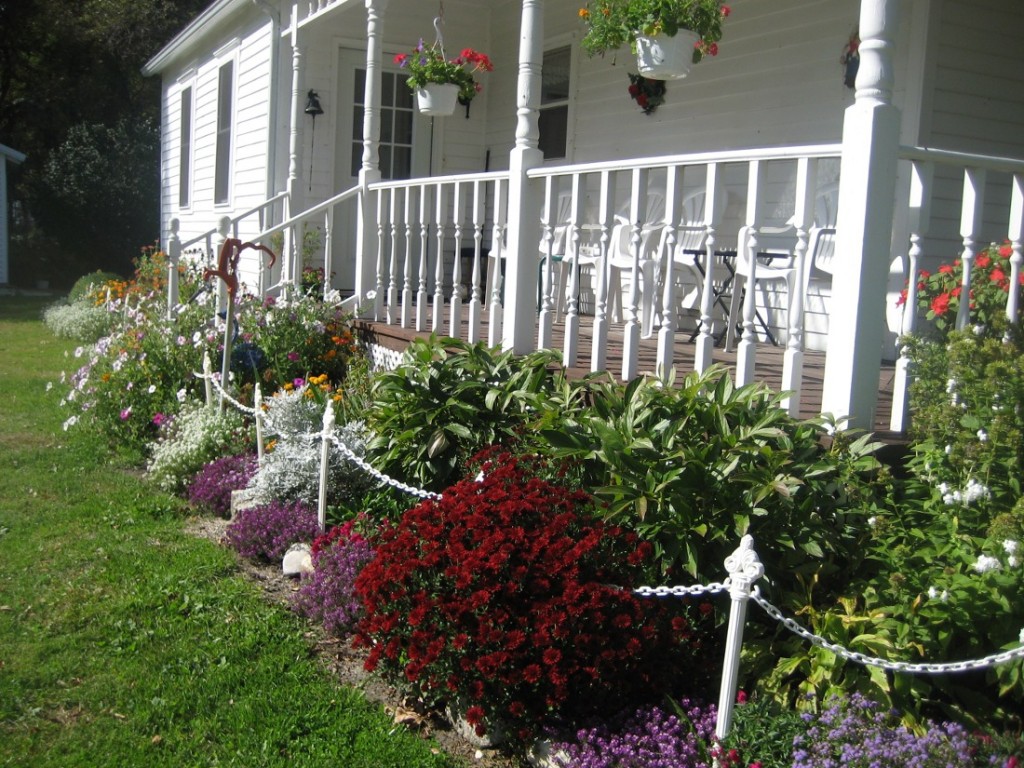
We were blessed with plentiful rain in the summer and we are blessed
with plentiful snow this winter. What a difference a season makes!
Hope you enjoy seeing the difference.

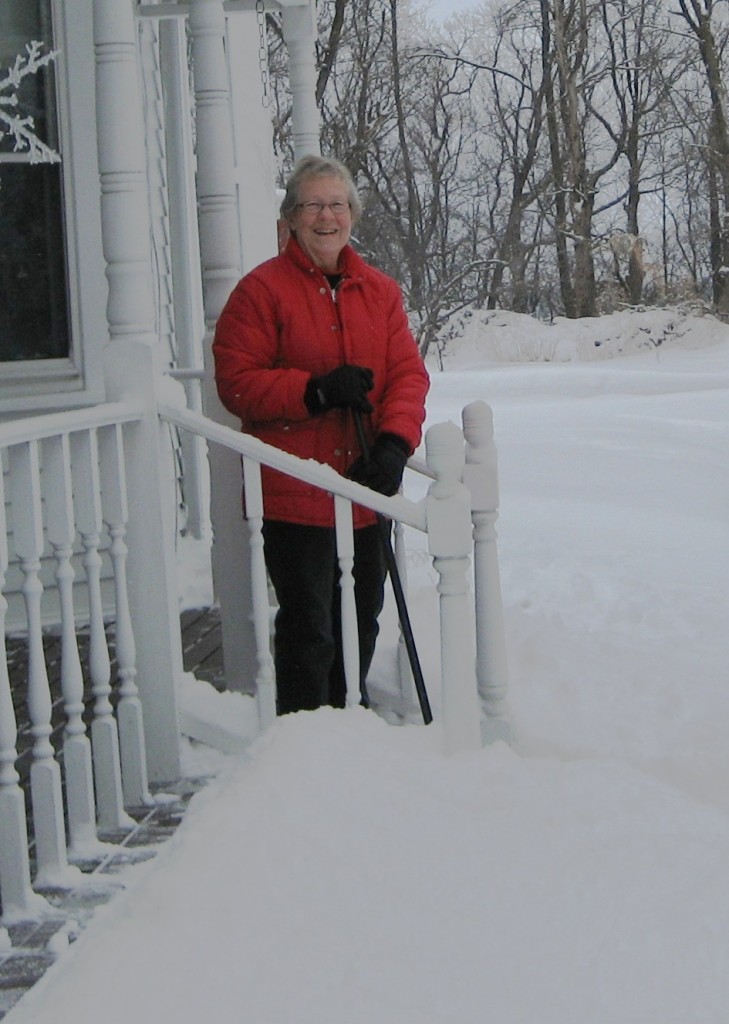
The 10 inches today was beautiful and very fluffy, it was also much
warmer today, up in the 20’s.

Have a wonderful Holiday Season.

Donna

AIMG_1408 e

BIMG_1006 e

CIMG_1412 e

DIMG_1099 e

EDonna shoveling

FIMG_1100 e

A Bit of the Past is Gone

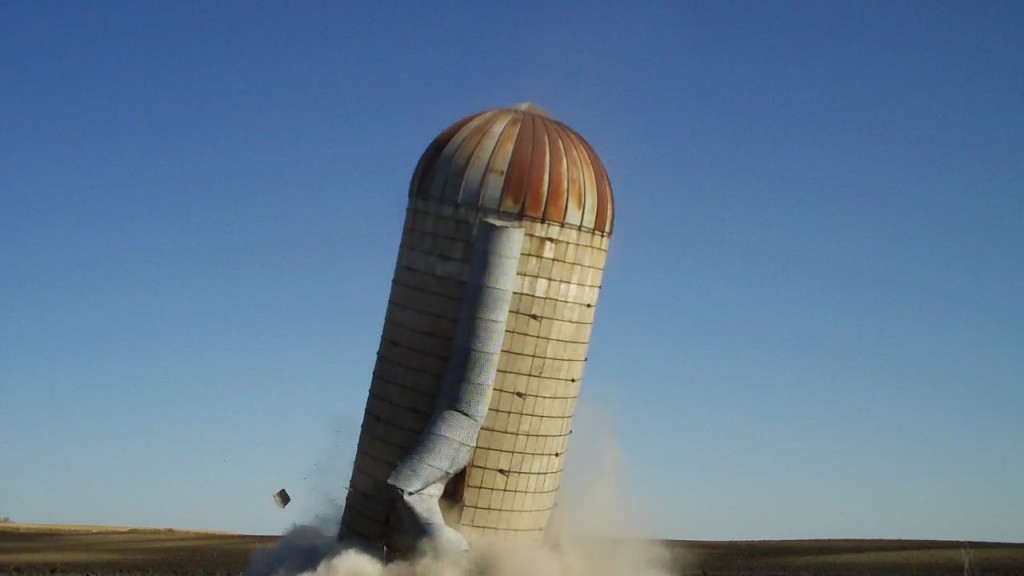
Down she goes

Down she goes

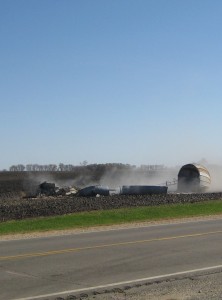
The end of an era, after standing for over 75 years (maybe 85) the corn silo came down. My Father and Grandfather had it built for the storage of corn silage by the Svea Silo Co. of Svea, Minnesota. It was constructed of pre-stressed concrete blocks called staves. One edge was concave and the opposed edge was convex. They would be set together and steel bands were tightened around the structure to hold it together. A coat of cement was painted on the inside to make it air tight.

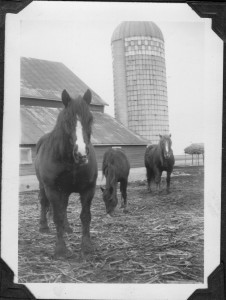
Horses and old barnThis old photo shows the barn and silo and the last of Dad’s work horses. This probably dates from early 1940’s. Sadly not many photos were taken of farm operations and fewer survived.
Green corn was chopped, stalk and all, into inch long pieces and blown into the silo from the top. Many tons of this would pack down into the structure and ferment, thereby preserving the nutrients in the corn.
Back then Dad milked 12 cows or so. The 14 by 36 foot silo was enough to take care of the animals all winter. We would dig it out by hand and carry it to the cows in a bushel basket twice a day.
Dad sold his cows in the early 60’s and the silo went unused. The small family farm was no longer financially viable and by the 70’s it became apparent it never would be again.

The unused barn was disassembled for lumber salvage in the 1970’s and it’s cement floor and foundations buried in the early 90’s. At that time the cost of disposal of the silo far exceeded the gain the additional crop land would return. This year, the higher corn prices, plus the danger of the structure collapsing into a growing crop and the difficulty of the larger farm machinery manoeuvring around the structure, made us move forward.

The traditional way of taking a silo down was to take the steel bands off the bottom. Then take a sledge hammer, break the cement staves out till it starts to fall, then run like hell. I just didn’t like that part about running. My son, Jeremy, came up with the idea of shooting the staves out with a high power rifle. When the crop was out we gathered some spectators and the fun began.

Silo_11 Here we are getting ready.

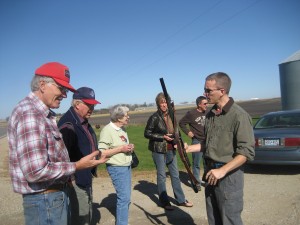
I’m on the left, next is an old friend, Dan Pederson, My sister Margaret (or Peg as I always knew her). Ronna and Dave Gravgard in background.

Jeremy showing his AR15 rifle.

silo2

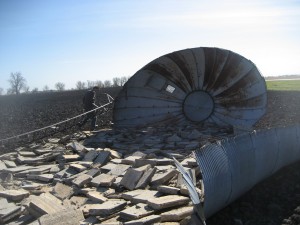
Here is Jeremy with a fresh load of ammunition. Good thing he brought plenty along. It would take many shots to break through. Notice how the staves are shot out more than half way around and the silo is still standing.

Silo_on the groundSilo_all thats left When it went, it went fast and it fell in a different direction than I would have guessed. I’m glad I was clear.
The concrete has gone for recycling. I separated the iron and got it out of the field. next spring I will sell it for scrap Iron, unless I can find someone who needs 5/8 inch steel rod.
I hired a large hoe to bury the foundation. He wasn’t sure when he would get there and I didn’t need to be there. So I just figured I would  listen for him and get some pictures. I was working in my shop when I heard him. He was done and loading up again before I walked down to him, so I failed get pictures. The land has been returned to a level field again. In a few years know one will remember it was ever there.

New find in old shed

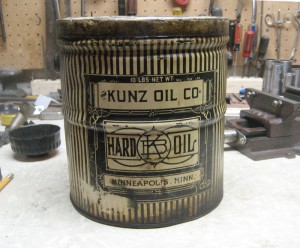
Kunz_oil_EI was poking around in the old garage and found this container of old grease. I think it is quite old because of the label “hard oil” instead of the word grease being used. I tried searching for the Kunz oil co. of Mpls. without much luck. Maybe I’ll find something with a little more time invested. If any one has any information on the age of this can I would appreciate hearing from you.
Making use of mistakes

Donna's_west_Garden_2010 Some time back I showed pictures of a railing I made for my son’s garage. In my usual fashion, I sped ahead without checking the building code for the spacing of uprights.   We were unable to use it because of this . I set the thing aside in my shop, wondering what to do with it. My wife, Donna spotted it while she was doing her gardens. Being clever and artistic she came up with a neat use for it.

The picture above shows her west garden which is one of many. This one is secluded behind the house and was carved from the brush.  I think they look interesting and attractive there. Hopefully they will cause the deer to detour around the garden.  As the spring progresses and the flowers grow, the garden will look even more beautiful.

Spring on the farm

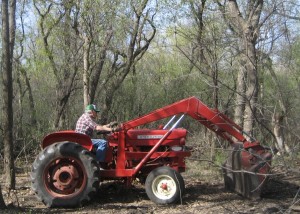
A_working_antiqueThis is me on my  loader tractor. I would have a hard time getting along without it. It is an antique, believe it or not. Manufactured in 1959, the year I graduated from high school. I purchased it for $1100  on an auction sale in the 1970’s when I bought dad’s farm. That same year my wife went to an auction in the neighborhood that had listed a heavy duty loader. With advice from a cousin, my wife joined the bidding. Now we we were newly back in the area and only the relatives and a few neighbors new Donna. When she called out her bid everyone turned and looked to see who this attractive young lady was. A woman bidding on a tractor loader was in itself unusual. The sale of the item was forgotten as they asked each other who was this stranger. You could here the whispers, “oh dat must be George Anderson’s  Daughter-in-law, ya sure, she next to Pete Peterson an dat would be her cousin den”. The Auctioneer knew it was over, called sold for $220 to the young Lady. The men turned there attention back to the sale, with more than one regretting they had been distracted.  I rebuilt the mount to fit the 340 and the result is a loader much stronger than the tractor.
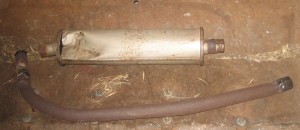
B_old_exaust Time takes it toll on everything, no big deal just buy some new parts, simple. You Bet, not on a 1959 tractor.  No longer available, a problem Hot Roders and car restorers run into all the time.  Making the pipe was the easy part. Rule’s tire in Willmar was able to bent me a copy.The result is below, I had to tweak the pipe a bit by heating it with my old acetylene torch. Yaa, I know The power bender does a nicer job. Normally you have the unit your working on, next to the bender so its easy to do.  I’m ten miles from town and I didn’t want to run back and forth or haul the tractor.
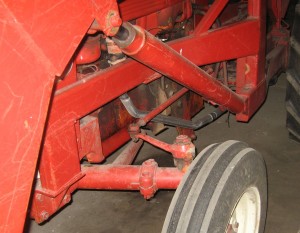
C_new Pipe The problem came with the muffler. No one had one on hand that would fit. ordering was a possibility.Searching the parts books for dimensions and pipe size is a pain in the butt. Plus that all takes time. I wanted to use the tractor, so the thought of a straight pipe entered my mind. Not a good idea, I  knew my hearing was already bad enough.
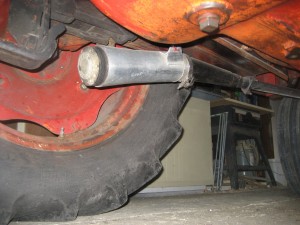
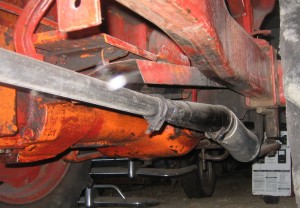
In the corner of the shed I spotted an old muffler from a motorcycle. I knew I had a cool solution. With a little hack saw work and my gas welder, I fabricated up a tolerable system.  [[edit from jeremy:  the muffler is half of a 4-into-2 Supertrapp system from a 1984 VF750F Interceptor]]

View the pictures below I know the tractor needs new paint, that with some work it would be pretty again, buts that’s down the road. With summer coming that means cruises and fun so getting the red convertible ready is first.

In the mean time you don’t often see custom exhaust like this on a tractor.

D_new_muffler
E_New_Pipe

Being Cheep

Recently my trusty old belt of 20 some years wore out. I priced belts in several  clothing store’s and about went into shock. Forty dollars for a plain strip of leather B.S. Even the discount stores were over priced. Now I admit I needed to be able to change buckles easily as I prefer my own buckle. That should have lowered the price as I didn’t need a buckle. Instead it lowered selection greatly.

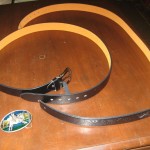
Fate smiled on me as I was walking through a Flee Market in Mobile Alabama last February.  Off to the back of his display were the two belts shown below. Inquiring, the vendor pointed out that both had problems. One was missing the buckle and the other had a blemish in the leather. I looked them over while trying hard to show disappointment in my face. This was somewhat difficult as these belts were perfect for what I needed. I pointed out that because he was such a pleasant fellow I would help him out by taking these useless items off his hands and pay him a couple of dollars. He pointed out he had paid dearly for these new belts and that they were of premium leather. After several minutes of discussion we arrived at a compromise of less than five dollars for the two.

A_9811E B_9813E C_9815E D_9817E

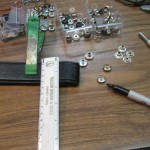
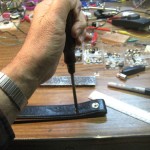
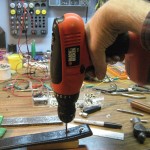
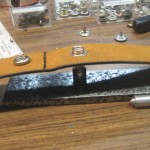
Above are the belts and my favourite buckle. As you can see the belts  are too long and have no way to attach the buckle. I determined the belt length I needed by slipping the buckle on the belt and holding the belt around me. Than I clamped the belt as you can see in the next picture. On the work bench are  some snaps that I had purchased in the late 1980’s for fixing leather jackets. Next I used my trusty sharpie and a small ruler to mark the spot.  Note the awl I used to center punch the spot for drilling. It is made from  a worn out Philips screwdriver, the large handle make it great to handle. I used a freshly sharpened metal bit for drilling the holes.

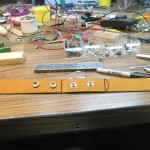
Below I crimp the snaps in place note I installed the first snap before I made the hole for the second snap. That way alignment is guaranteed. I use a piece of quarter inch scrap steel  that is 1.25 by 6 inches to protect the desk top that I use for a work bench. The snaps are riveted in with a special punch so the protection is needed. all that’s left, is to mark  and cut the extra off.

E_9814E F_9818E The finished product G_9823E

Not a big deal of a project but I have a new work belt for a couple of bucks and some fun. I did this all a month ago but spring came early so I did not get around to finishing this till now.

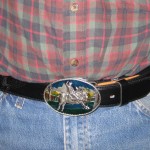
No, I didn’t win the Bull Riding buckle in some long ago competition, when I was young and tough. I’ll admit I have spun a few late night stories to acquaintance’s, they were ment solely for entertainment. The truth is I acquired a lot of  them back when I was selling on the circuit. The thing that always  got me in trouble was, “how much would they be if I took them all”. If you feel a need for a few ( or several), get in touch with me. all are serial numbered, limited edition, vintage 1980’s.

My latest project

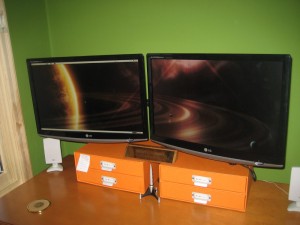
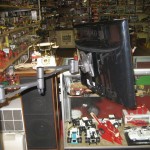
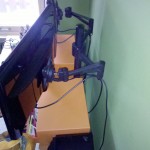
This is my latest project as it looked on completion. My son found a deal on a nice mount bracket that takes little table room. we ran into a problem as you can see

dual mount monitures

dual mount monitures

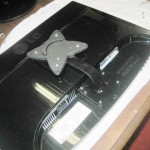
from the following pictures. the new brackets are made to hold a monitor from the center of the back and these monitors had a mount point on the lower edge with very different mounting holes.         I would have needed longer screws if I had modified the new mount bracket. Also the mount seemed a bit unstable that way. (I did try). Rather than drive the 10 miles into town and search for Chinese metric screws I decided go the rout shown below. I knew that would be sturdy plus I could use what I had on hand.

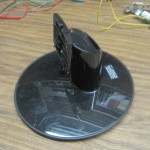
aIMG_9013 (copy)This is the original mount that took up much desk space and was a bit unstable
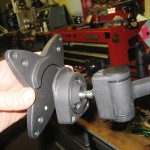
BIMG_8891 CIMG_8890dIMG_8892eIMG_8893 (copy)

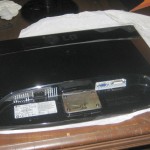
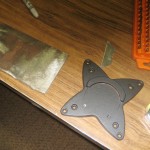
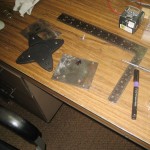
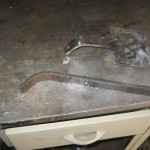
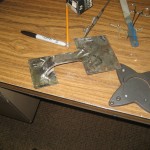
Above is the new mount as you can see,  it is very different where it attaches to the monitor. Next shows the 3/16  sheet  iron plate I made to attach to the monitor, next is the new mount bracket and the 3/16 thick sheet  iron I used, The iron I used is all salvage, cut from junk or left over from projects. The last picture in the row is finished plate with the holes drilled to match the new mount bracket, note the marker and the up arrow on the iron plate. Nothing worse than to spend the time to cut and drill a piece and then to turn it wrong on the welding table and screw it up permanently. Easy to do with grey pencil marks on grey iron or trusting your eyes.

FIMG_8906HIMG_8894JIMG_8896LIMG_8900

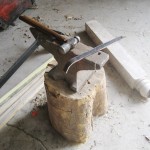
On the left above is the one inch by 1/4 iron bar on the anvil with the hammer that shaped it. The bar is also from my junk pile, much stronger than needed, but it is what I found quickly  on a cold winter day. The anvil was my fathers and I think my Grandfathers, which makes it over a 100 years old.  Even though  its shows its age it’s perfect for shaping iron with a hammer. I wonder if my Grandfather, when he hammered out plow shares or shaped horse shoes on it, could ever have imagined what I used it for today.

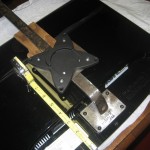
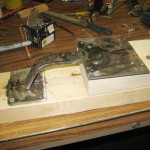
The next picture shows laying out the irons to determine the size. On this type of project I find it best to constantly check for size and fit. The third picture shows the iron cut to size and marks for  fit up.  Next we are back to the welding table, because I was concerned about alignment I clamped the pieces down. My weld isn’t the most beautiful work that I have done but my welding shop is unheated.  The lens in my helmet would fog up even if I held my breath. You need to see the puddle of molten metal to make a good weld and so I erred on the safe side by letting the puddle get a bit high.

MIMG_8904NIMG_8905OIMG_8908PIMG_8913

No problem with some extra weld metal, the big hand grinder takes it down fast. You can barley see my nine inch yellow grinder in back of the vice.  The second picture shows us back inside checking alignment again. Than back to the welding shop  and forming a matching bracket for the second monitor. They must be the same to look right. the last picture in the above line shows the jig I made to hold parts in line for welding and to assure that the brackets match.

QIMG_8909RIMG_8910SIMG_8915UIMG_8918E

Above you can see all the metal work is done. In the next picture  we try it and it looks ” good enough for a town this size”. It is  now safe to finish the second bracket.  Next we take things apart and hang the brackets up and paint them as you can see in the third photo. Because it is cold outside, I paint in the wash room in the lab which get pretty strong smelling . I did have an exhaust fan set up but that blows too much heat out. The solution I have found best is to paint it than go for coffee.

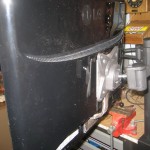
The forth shows the finished brackets final attachment to the monitor, almost factory looking.

Below is the finale test mount. Next to it is the finished product, very stable as it is clamped to the table.

VIMG_89242009-12-22 13.11.42

Below is my Son and Grandson enjoying the finished setup.wIMG_8989E

The cost of the project? Two 6013 welding rods, A couple pounds of scrap iron, some spray paint and bolts from my junk drawer.  Less than the cost of a good cup of java, plus a bit of time.

Grandpa help

Gunnar_with_new_friendE

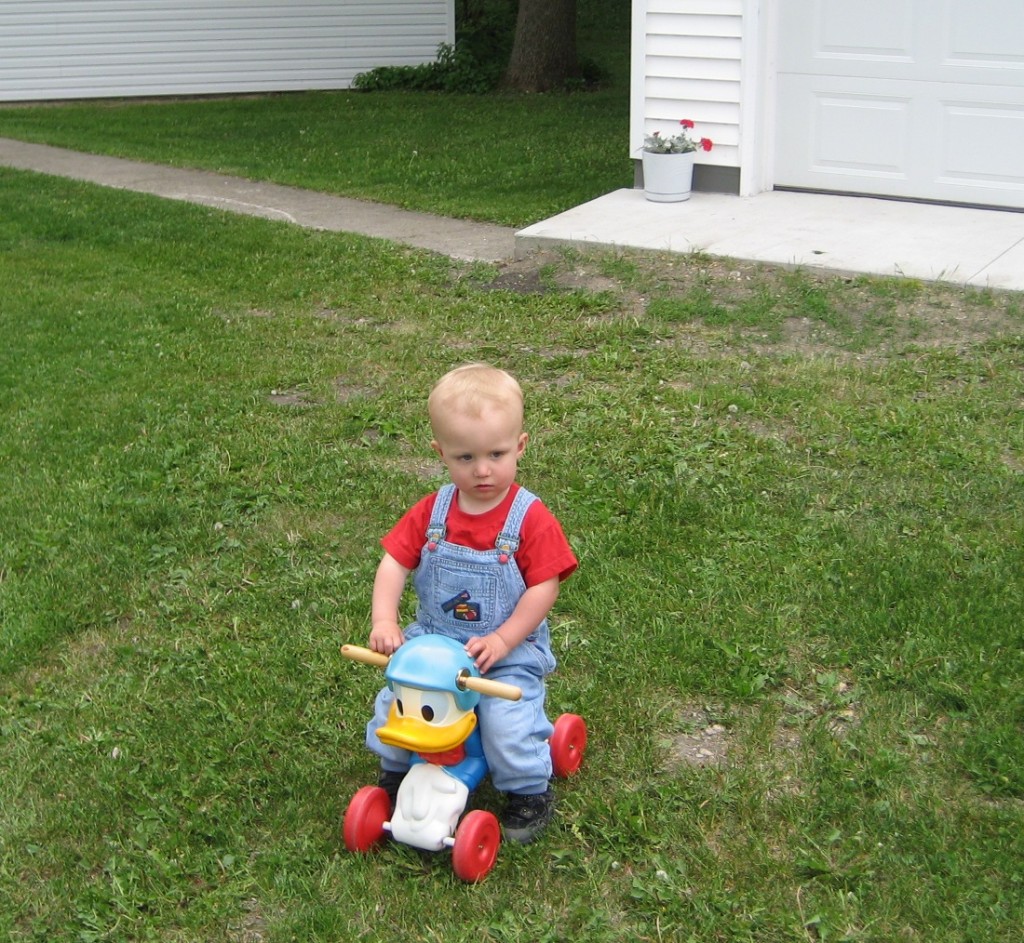
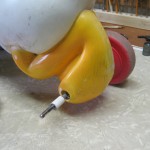
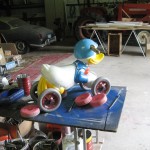
This is my grandson Gunnar Anderson on the day I gave him Donald. He is not quite two years old. Gunnar soon learned to scoot down the side walk in front of their house and loved to ride alongside me as we walked to the neighbourhood park.  Two years later when  My  Grandson came to me with his favourite toy and showed me the worn-out  wheels,  I tried to explain that Donald  was old ,well worn and almost too small for him. The “please fix the wheels, you can fix anything, Grandpa” was more than I could resist.

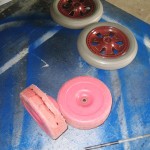
Upon examination  I could see the worn-out wheels were cheaply made and beyond  repair.
A_Damaged_old_Wheels

A search of  my back room found a set of new wheels from who knows where. They probably came from a swap meet several years ago, one of those “deals” you can’t resist even though you don’t know what you will do with it.

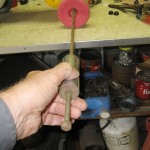
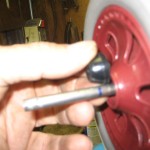
B_Removing_old_wheel_retainer slide_hammer C_old_wheel_offThe old wheels were held on by retainers driven on the shaft. They are often difficult to remove without destroying everything. I used a tool I made in 1966, a simple slide hammer. The axles in Donald were too small for the new wheels so the search for new axles began. I wanted something stronger than mild steel, so after determining  diameter, I took my old calliper and began searching the junk pile. I always search the used iron pile first before I go buy new iron. It was nice years ago when I worked at a place with a big rack of new iron, just go over and pick what you need. The plus side is looking through discarded and broken machines and things gives one ideas.
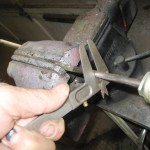
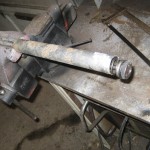
I found a pair of old screen door closers whose centre rod fit the bill.Enough length, right diameter and good steel. The cylinders are definately not designed to be dissembled.

D_serching_for_axel E_Cutting_cylender_C F_Cutting_cylender_D

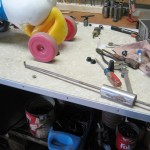
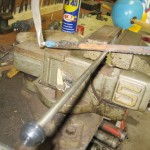
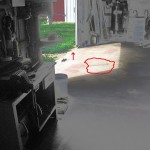
Note the picture’s of cutting the cylinders apart. the cylinders had a fairly strong spring inside of them. when I cut them open I had a violent reaction. This is why it is best to be alone when doing this type of thing. The red lines indicate where on the floor the parts ended up when they stopped bouncing.

G_fitting_axel_A H_cutting_axel I_Finishing_axel

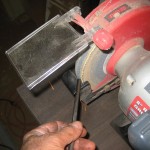
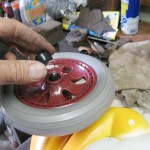
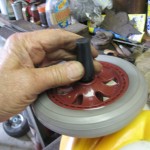
The rest was simple as the pictures show. Test assemble to determine length, remove and cut with hack saw, then grind the  end smooth. I used some drive on caps that I had on hand to hold the wheels on. I believe they were purchased for pedal tractor repair. below are the pictures of me putting them on and the finished project.

J_Fitting_axel_cap_A K_Fitting_axel_cap_B L_finishBelow is one Happy Grandson, I don’t think Donald will last very long as Gunnar is too big for it already. he can go lightning fast down the side walk but I had to say no when he took it up to the top of the slide.  No matter how long it lasts, that smile below was More than worth the effort I put into it.

M_Gunnar_and_Donald Update for September Gunnar has discovered the tricycle—–although he can still go faster down grade on Donald.